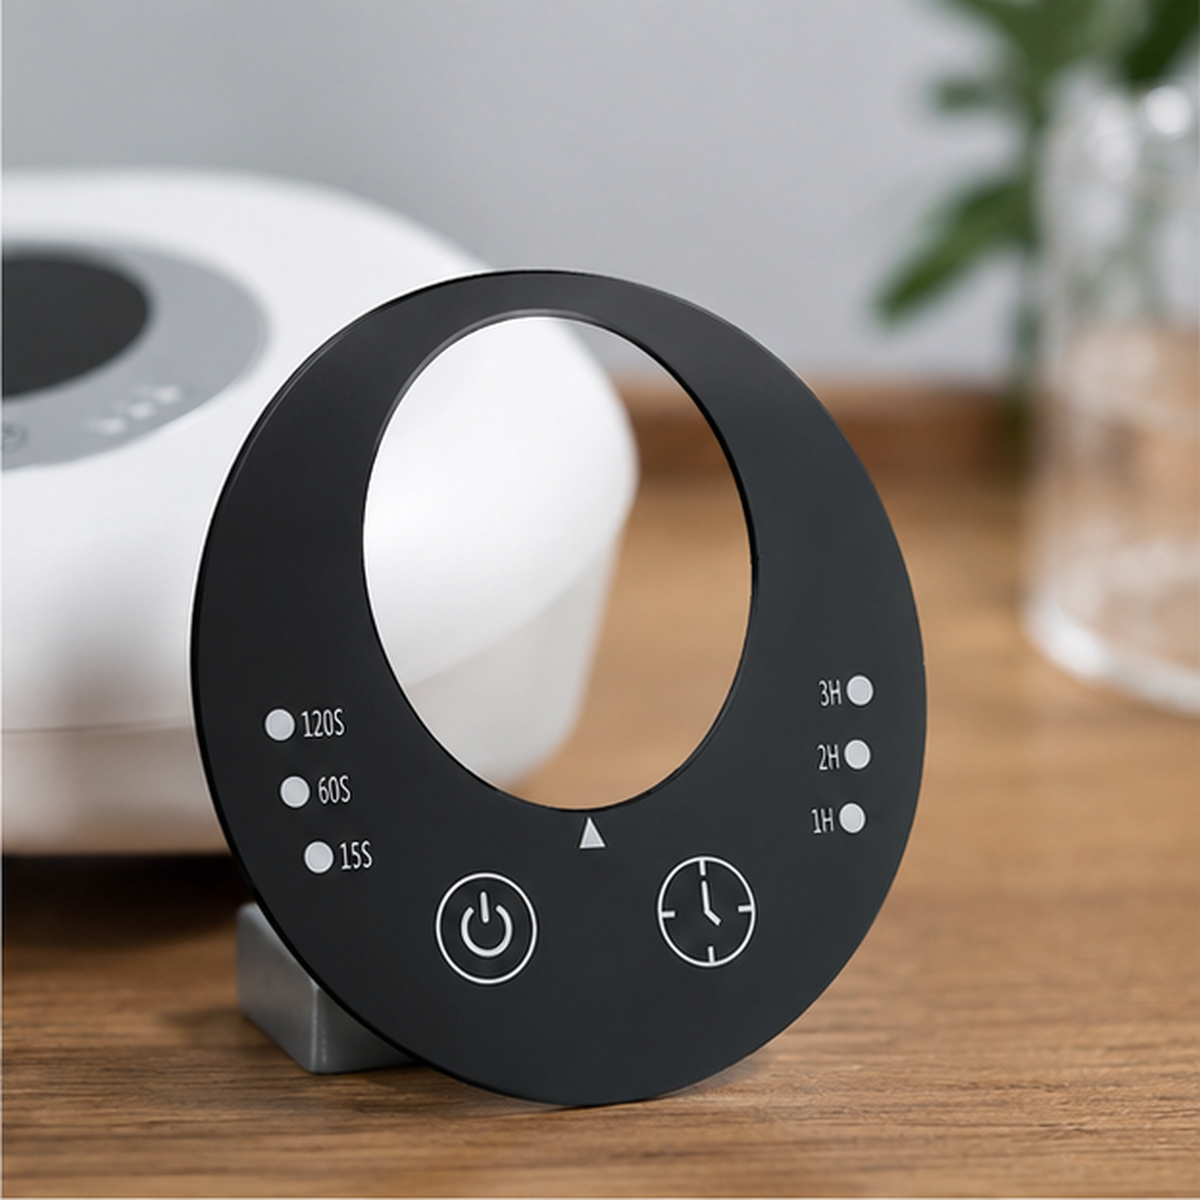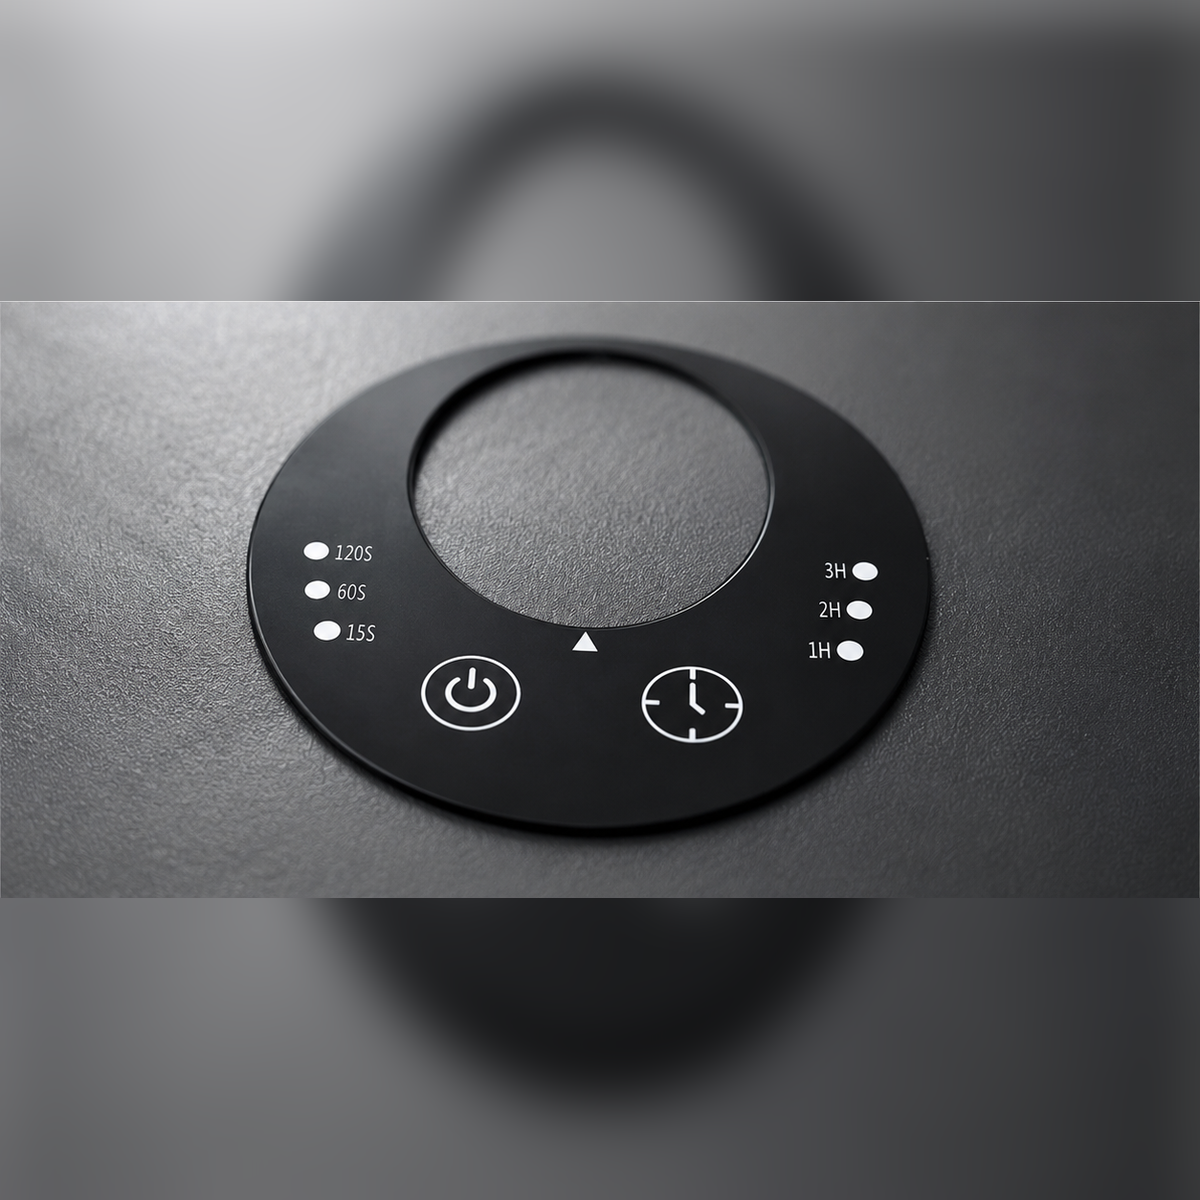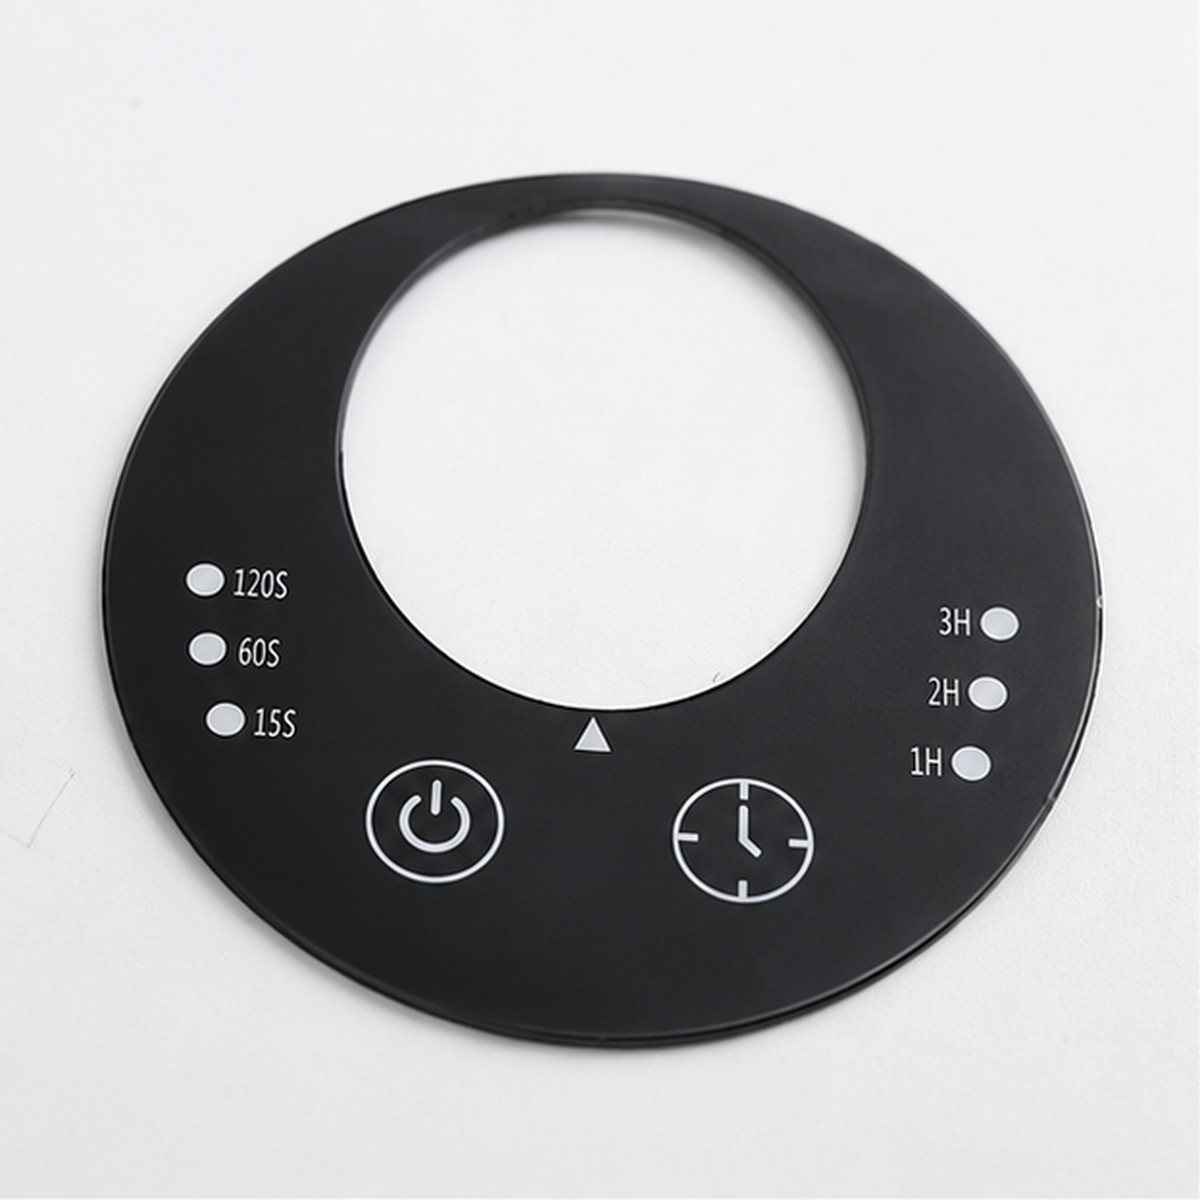
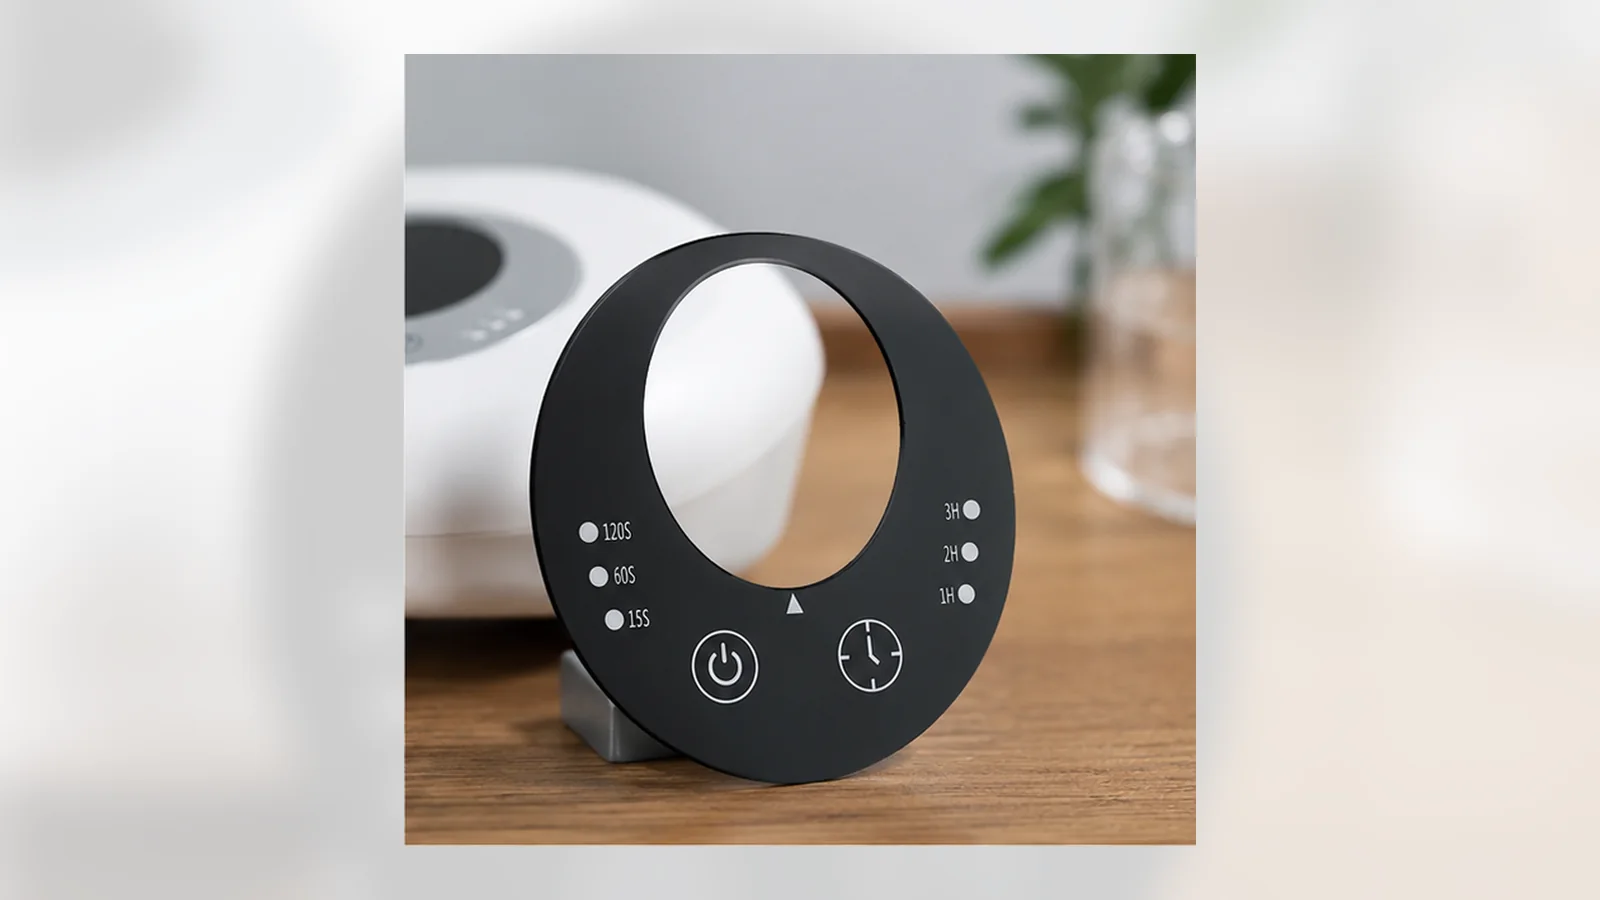
Direct answer: Production artwork should be vector-based, revision-controlled, and aligned to the mechanical drawing. Separate visible colors, transparent windows, light-blocking areas, and registration references so each function can be reviewed.
Keep artwork editable and measurable
Supply vector artwork when possible. Convert fonts to outlines or include the authorized font files, and avoid low-resolution screenshots for logos, symbols, or small legends.
Set the artwork at 1:1 scale using the same units as the mechanical drawing. Include a visible part number and revision outside the print boundary or in the controlled file metadata.
Build layers by function
| Layer | Content | Review focus |
|---|---|---|
| Mechanical reference | Outline, holes, cutouts, and datum points | Registration only; not necessarily printed |
| Visible graphics | Logos, legends, symbols, borders, and decorative color | Content, spelling, size, and color |
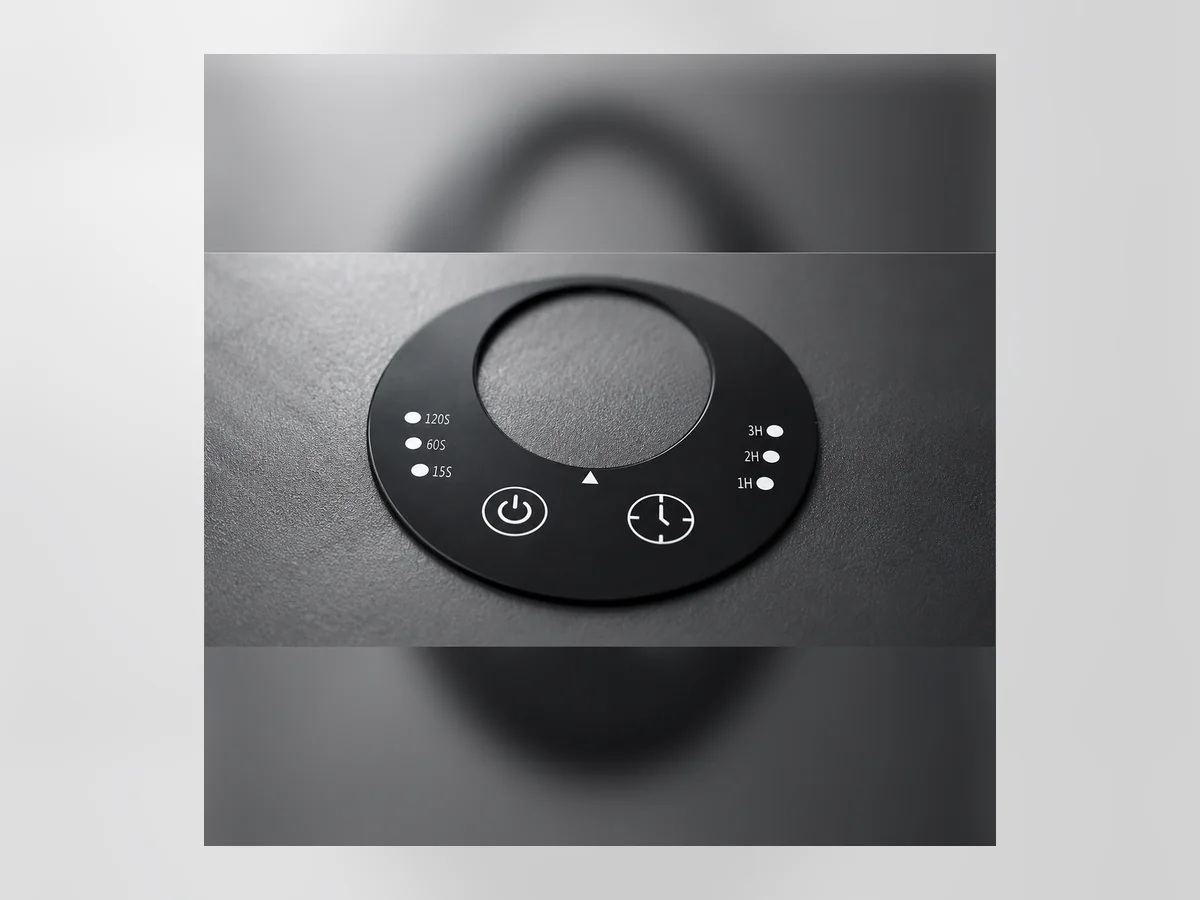
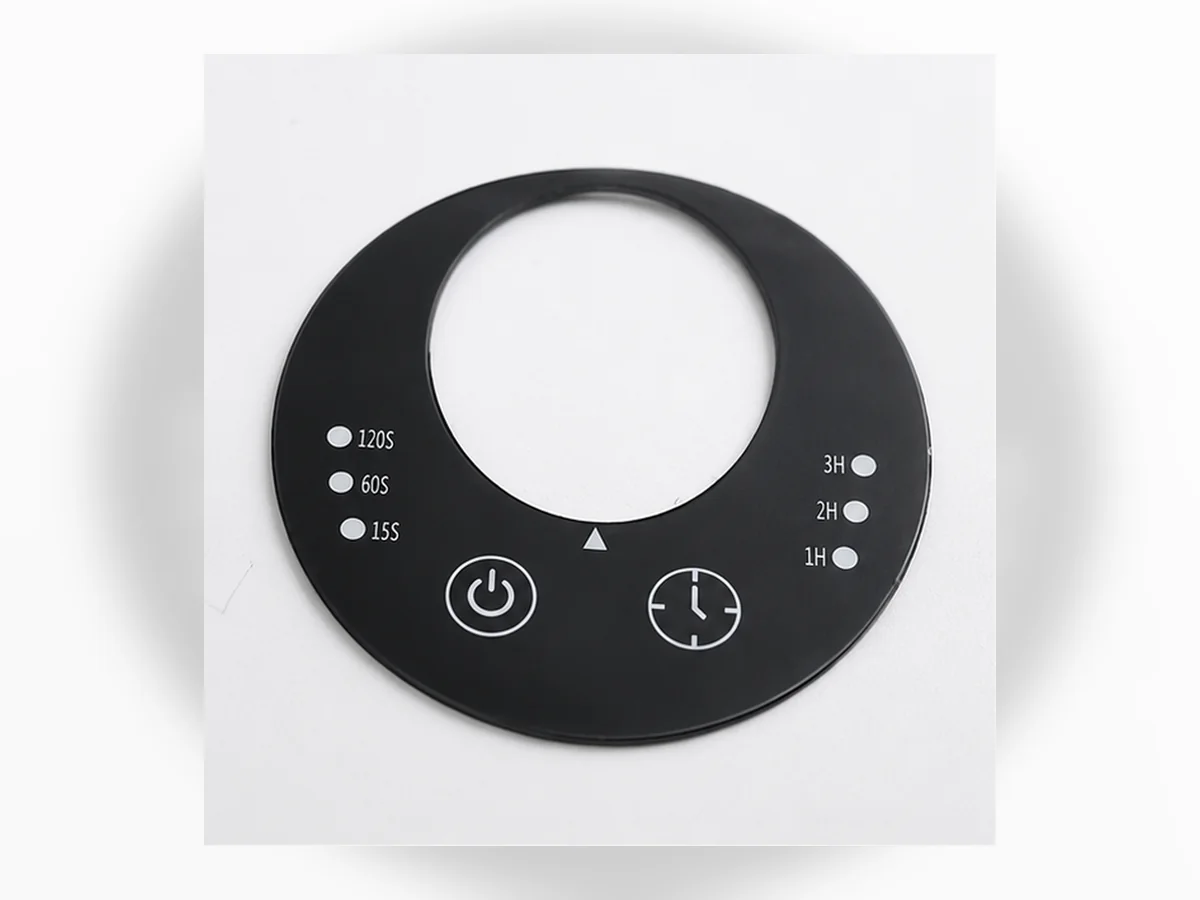
| Transparent windows | Display, indicator, and sensor openings | Boundary, tint, and alignment |
| Light-blocking mask | Opaque areas hiding internal components | Coverage, pinholes, and edge allowance |
| Adhesive reference | Adhesive footprint and keep-outs | Interference and assembly orientation |
Define color without promising a screen match
Monitors and office printers are not reliable production color standards. Provide a recognized reference, physical sample, or controlled target and state the viewing conditions when color is critical.
Color can shift with substrate tint, surface texture, ink order, backing color, and lighting. Approve the production-intent stack rather than a color swatch in isolation.
Treat light blocking as a functional requirement
Show which areas must conceal internal components and which must transmit illuminated information. Define the lighting condition, allowable light leakage, and inspection method.
Very narrow masks or borders may be sensitive to registration and assembly shift. Coordinate the artwork with the active display area and housing datum before sampling.
Run a final preflight
- Confirm part number and revision.
- Check spelling, language, units, and safety symbols.
- Verify fonts are outlined and images are embedded.
- Confirm spot colors, transparency, and overprint behavior.
- Compare window and cutout positions with the latest drawing.
- Identify front and rear viewing directions.
Our PC membrane switch graphic overlay page shows the type of component for which artwork structure and registration are central.
Buyer FAQ
Which file formats are useful?
Editable vector formats plus a review PDF are useful. Confirm the production format with the supplier before release.
Should fonts be converted to outlines?
Yes, unless editable text and licensed font files are intentionally being provided. Outlining helps avoid font substitution.
How are transparent windows shown?
Use a dedicated labeled layer and define whether the window is clear, tinted, smoked, textured, or partially printed.
Can the supplier correct spelling or symbols?
The buyer should own final content approval. A supplier may flag an issue but should not make uncontrolled text or regulatory-symbol changes.
How should multiple languages be handled?
Use separate controlled artwork revisions or clearly identified language layers, and verify every version against the correct market requirement.
What causes visible light leakage?
Possible causes include insufficient opacity, pinholes, registration shift, assembly gaps, or an incorrect mask boundary. The test setup should identify the actual mechanism.
Key takeaway
Production artwork should be vector-based, revision-controlled, and aligned to the mechanical drawing. Separate visible colors, transparent windows, light-blocking areas, and registration references so each function can be reviewed. Confirm every open point against the final specification and approved sample.
Send the project details for review
Send the panel type, material, 1:1 vector artwork, dimensions, application, color references, transparent and light-blocking zones, quantity, packaging, destination, and target schedule.
Submit the project information through our contact page. Specifications, MOQ, price, sample timing, and production timing will be confirmed for the final project.