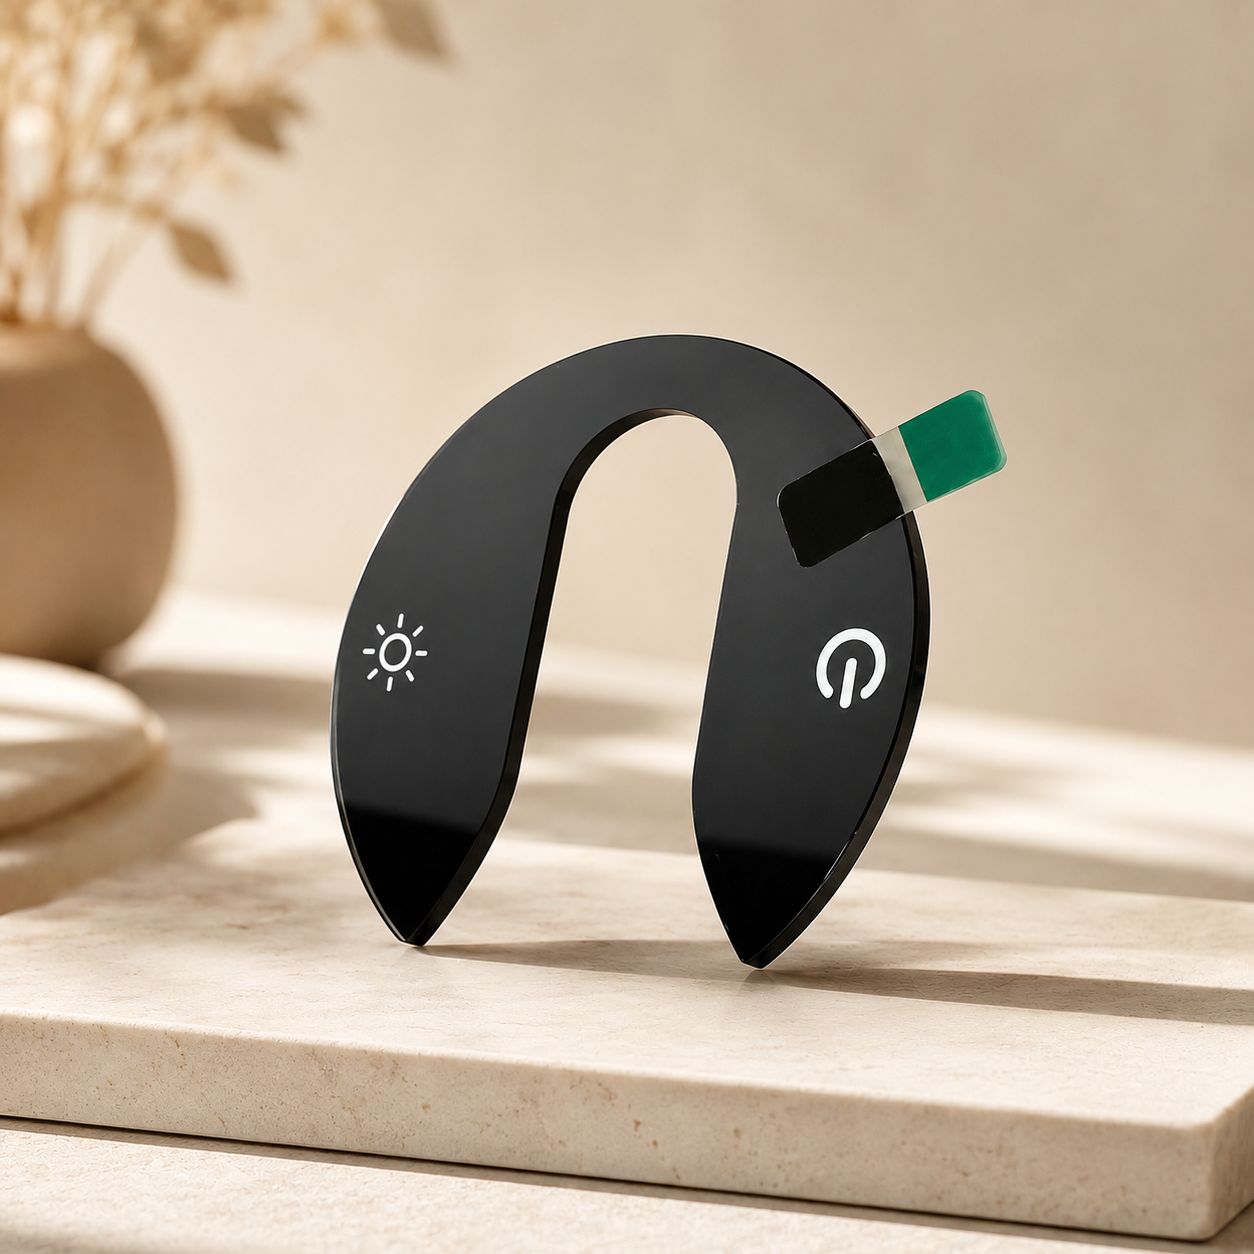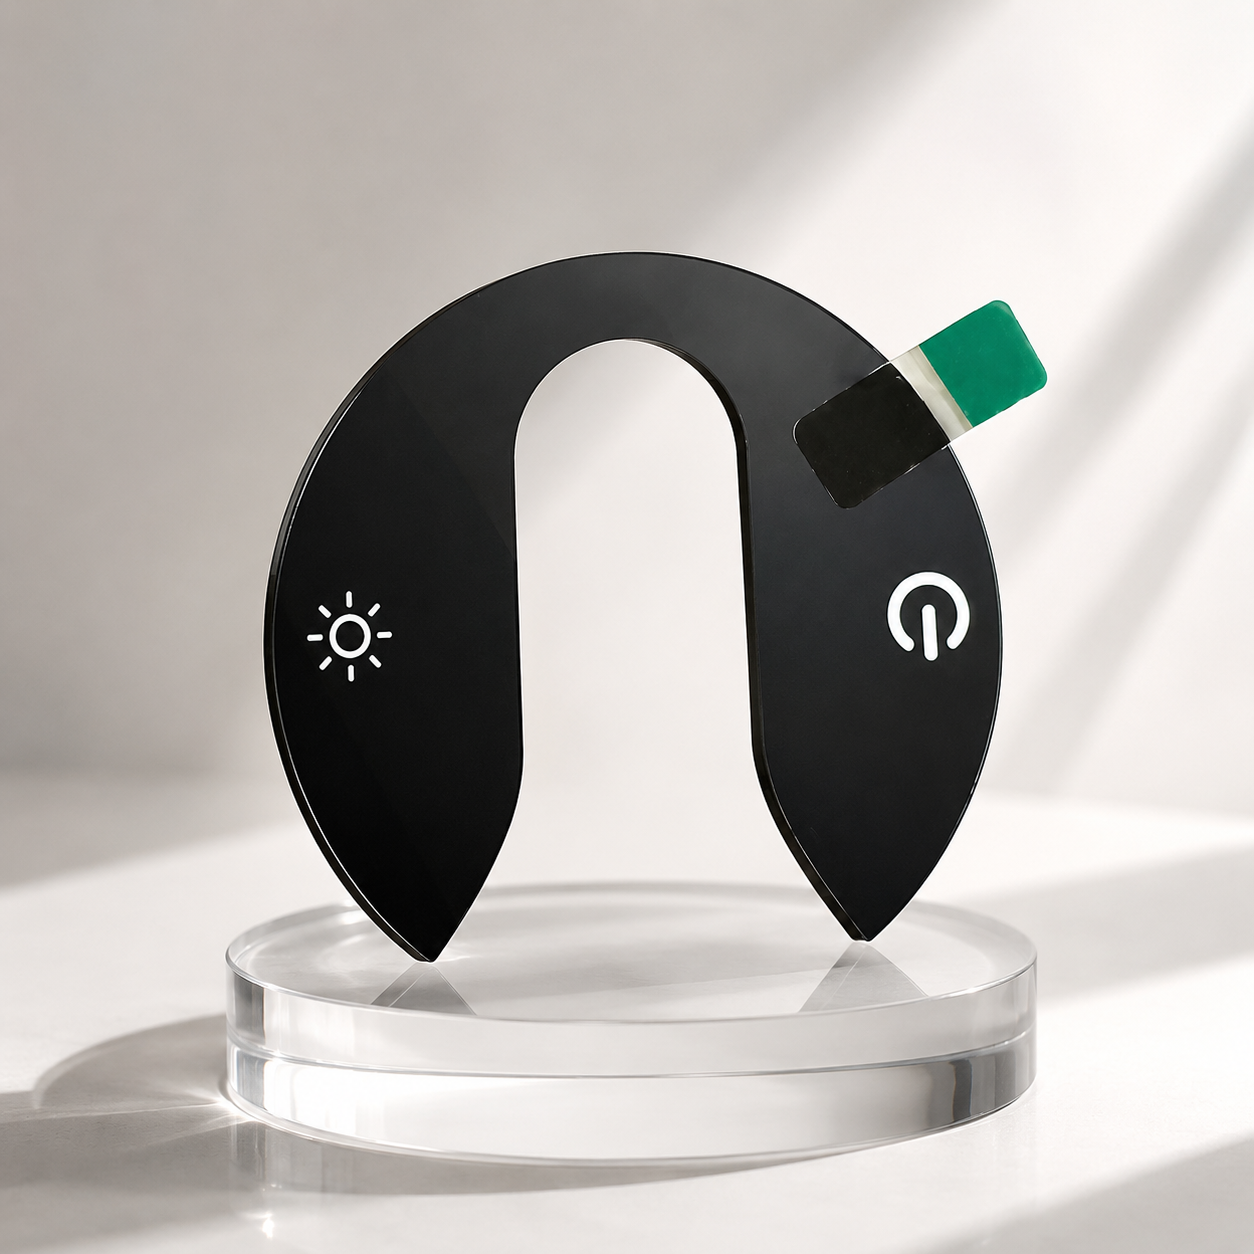
Direct answer: Before sampling, align the display active area, visible window, printed mask, cutouts, adhesive footprint, release liner, and assembly datum in one controlled review. Most fit problems occur at these interfaces.
Use one coordinate system
The mechanical drawing, display drawing, artwork, and adhesive drawing should share a datum or clearly show how their origins relate. Independent files with no common reference invite registration errors.
Dimension the critical location of the visible window from the assembly datum, not only from the outer edge if that edge is noncritical. Identify the intended front and rear faces.
Distinguish four different window boundaries
| Boundary | Purpose |
|---|---|
| Display active area | The illuminated pixels, segments, icons, or indicators |
| Required viewing area | The area the user must see at expected viewing angles |
| Transparent or translucent opening | The unmasked panel area that transmits light |
| Printed bezel or mask | The area that hides inactive display structure and internal components |
These boundaries are rarely identical. Add an allowance for assembly shift only after the buyer and supplier agree how much movement the product can have.
Cutouts need function and edge information
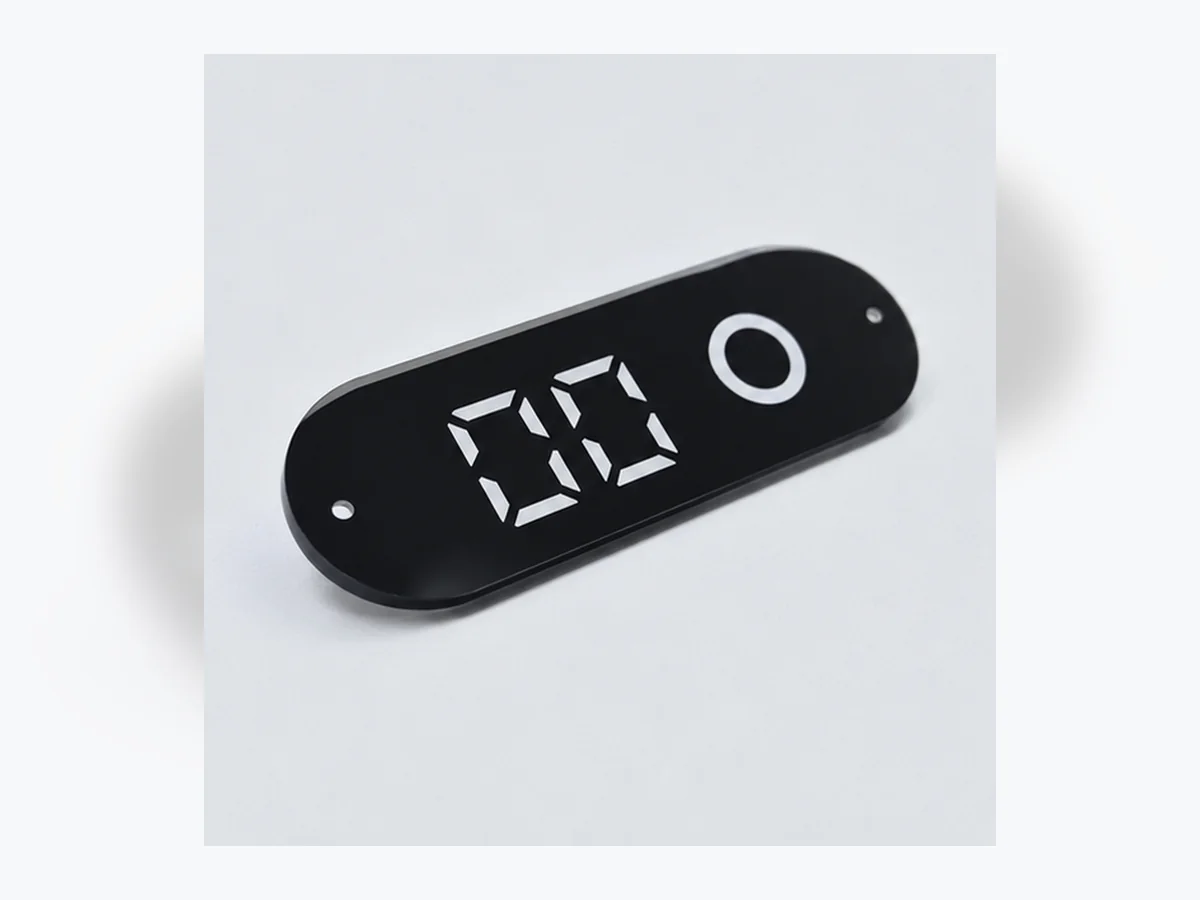
Label every hole, slot, notch, and opening by function. Button cutouts, sensor windows, fastener holes, and cable clearances may need different tolerances or edge treatment.
Small radii, sharp internal corners, thin webs, and holes close to an edge deserve early review. The achievable result depends on material, thickness, tool access, and process.
Adhesive is more than a part number
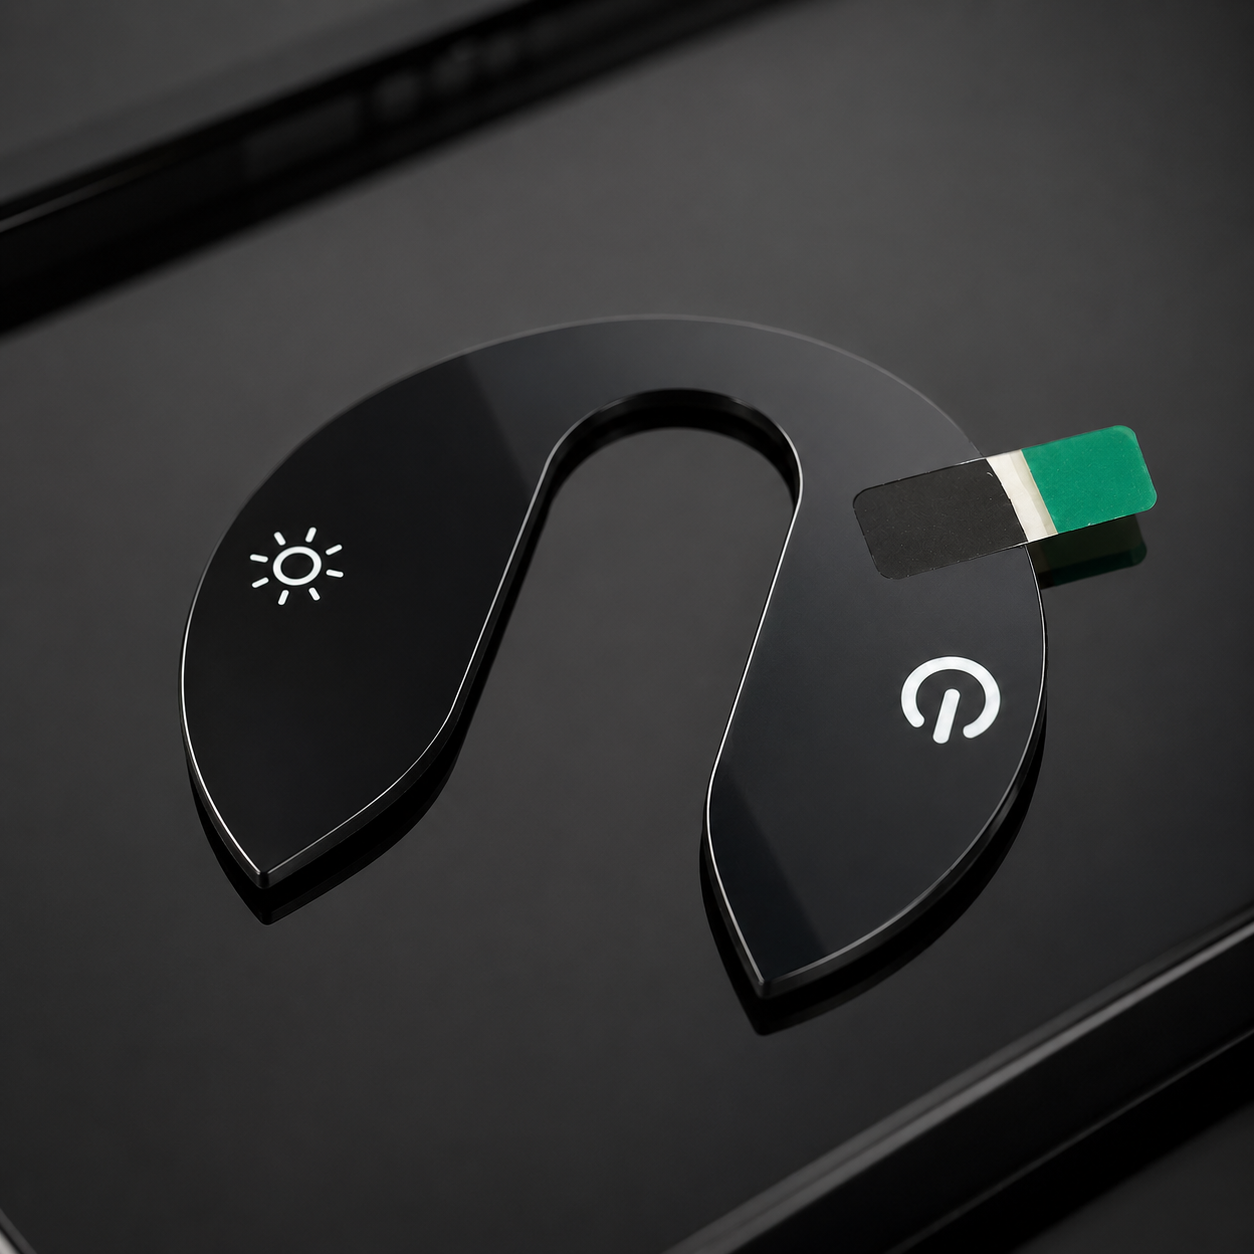
Show the exact adhesive footprint, keep-out areas, liner split, pull tab, and which side is laminated. Identify the substrate, surface texture, assembly pressure, service temperature, and exposure that the buyer expects.
Do not let adhesive cross display windows, vent paths, movable buttons, or areas requiring optical cleanliness. A full-size adhesive drawing makes inspection and assembly instructions clearer.
Sample the complete stack
Evaluate the panel on the actual housing with the intended adhesive, display, gasket, and fasteners. Check powered-off appearance, powered-on readability, edge gaps, button operation, sensor response, and liner removal.
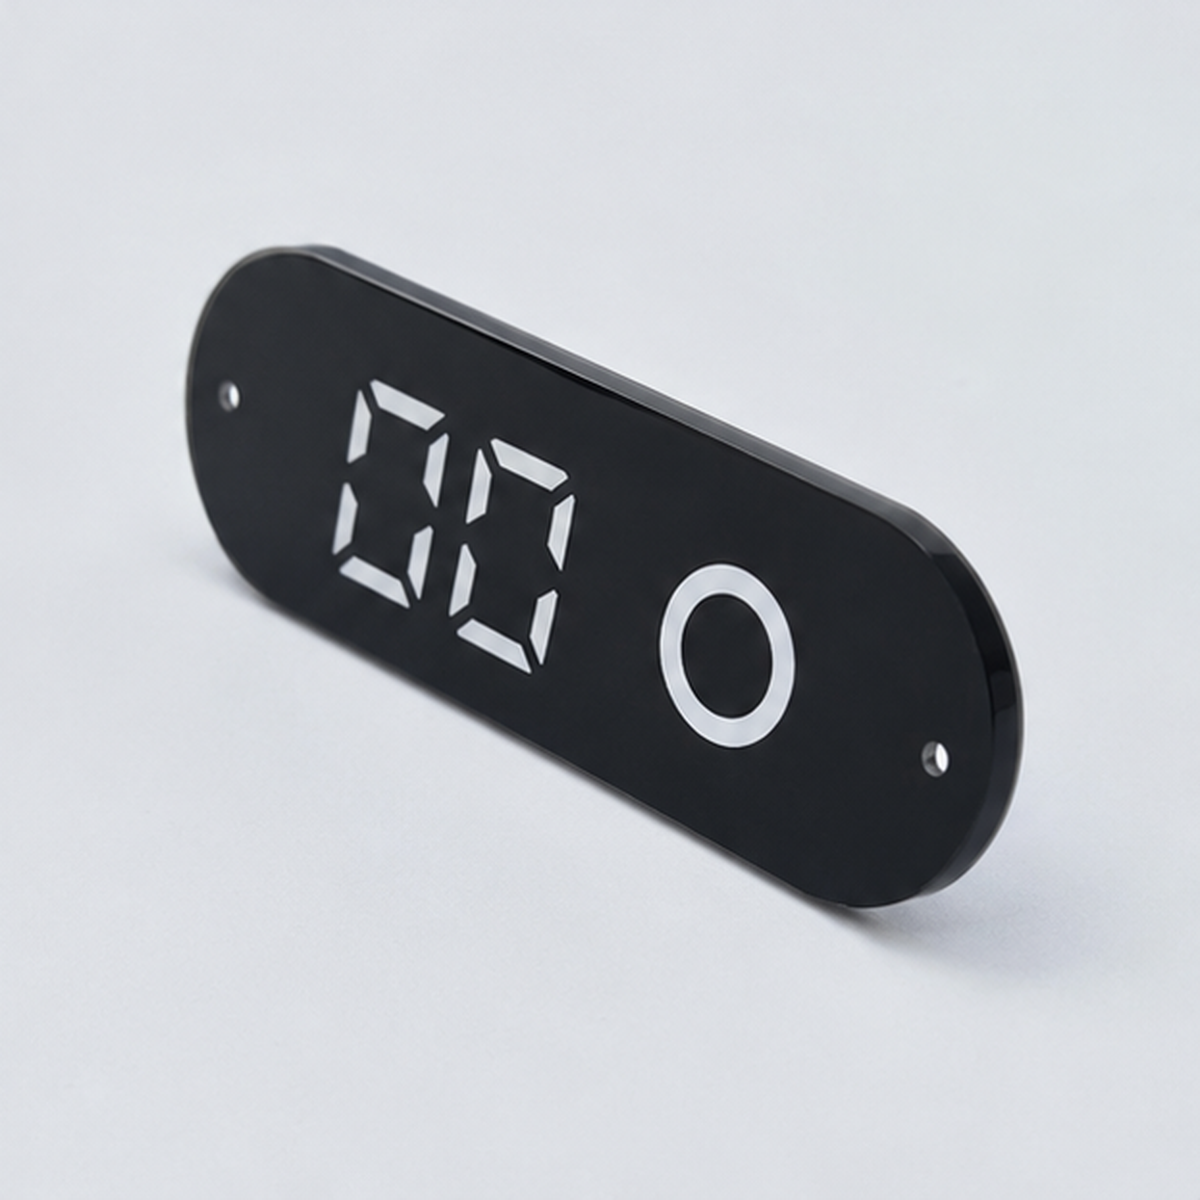
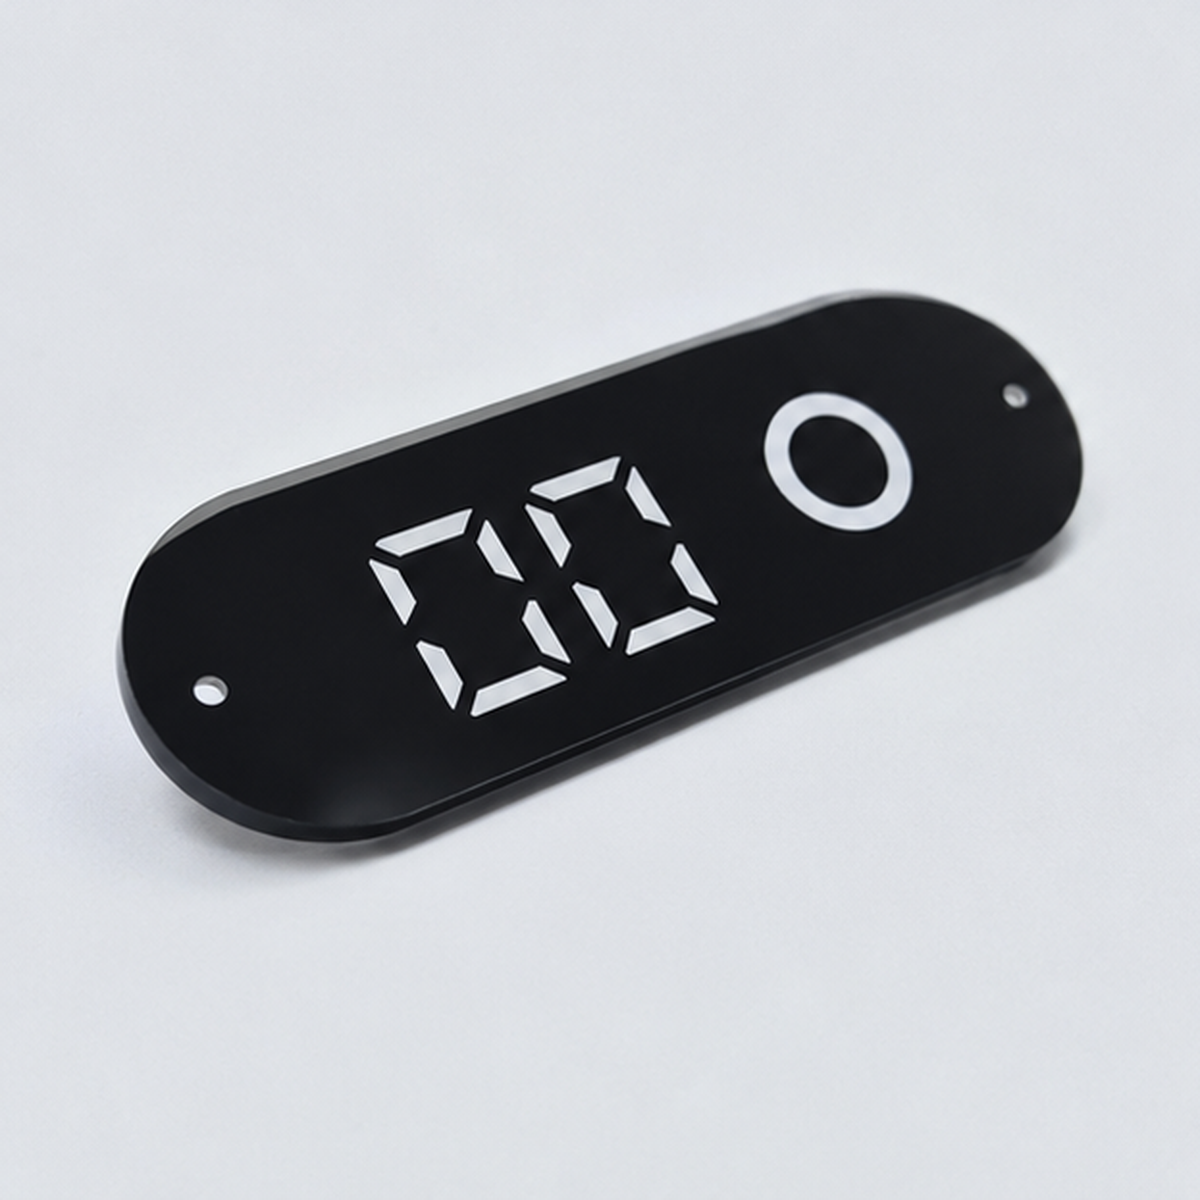
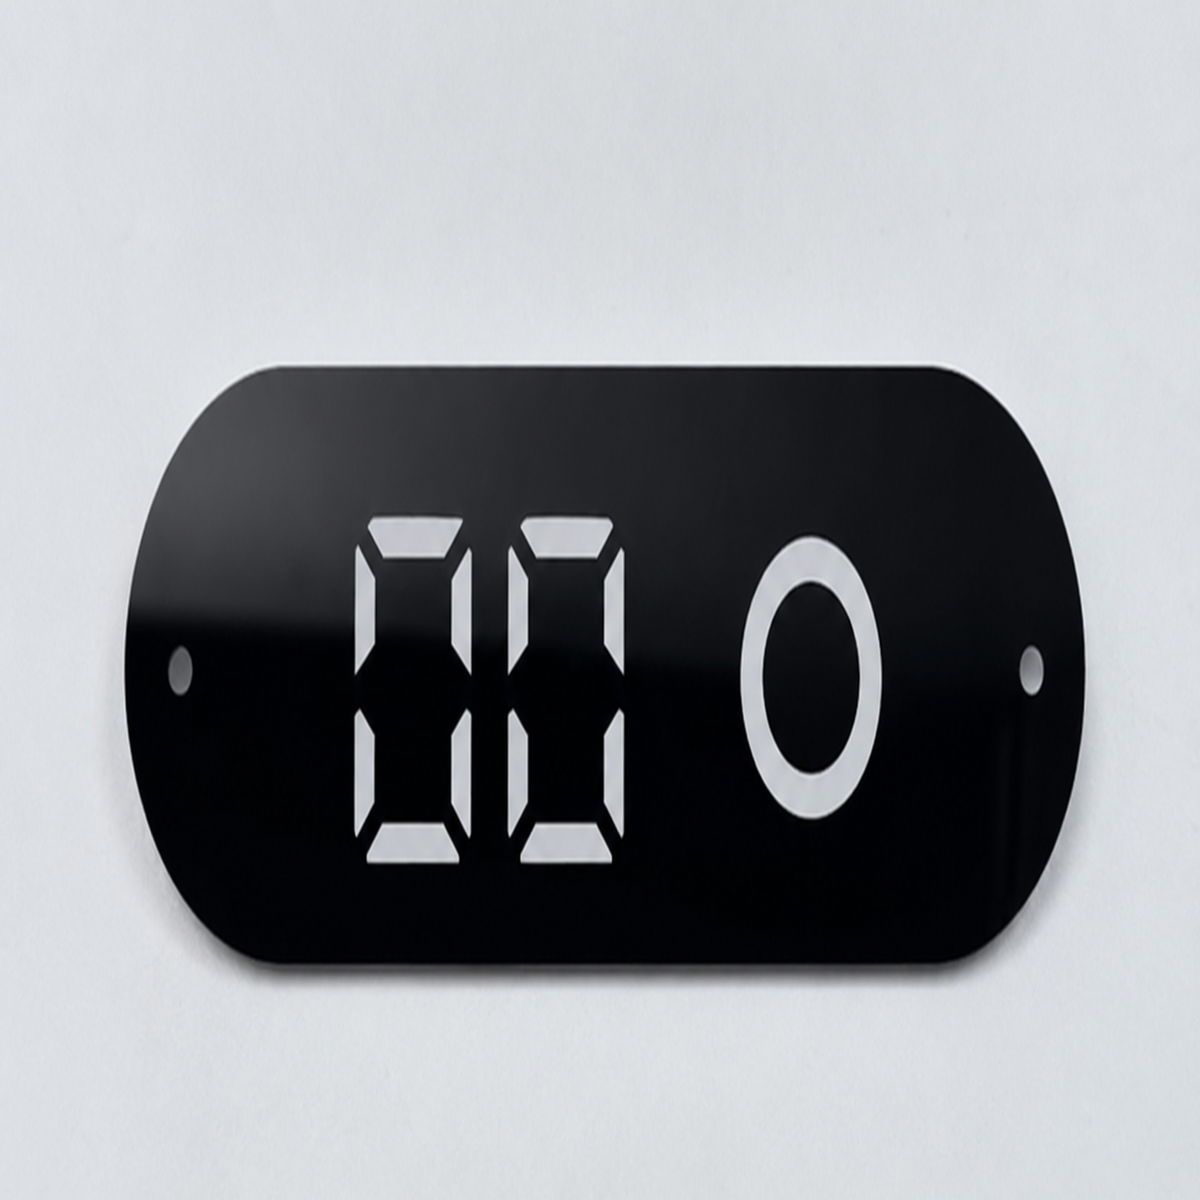
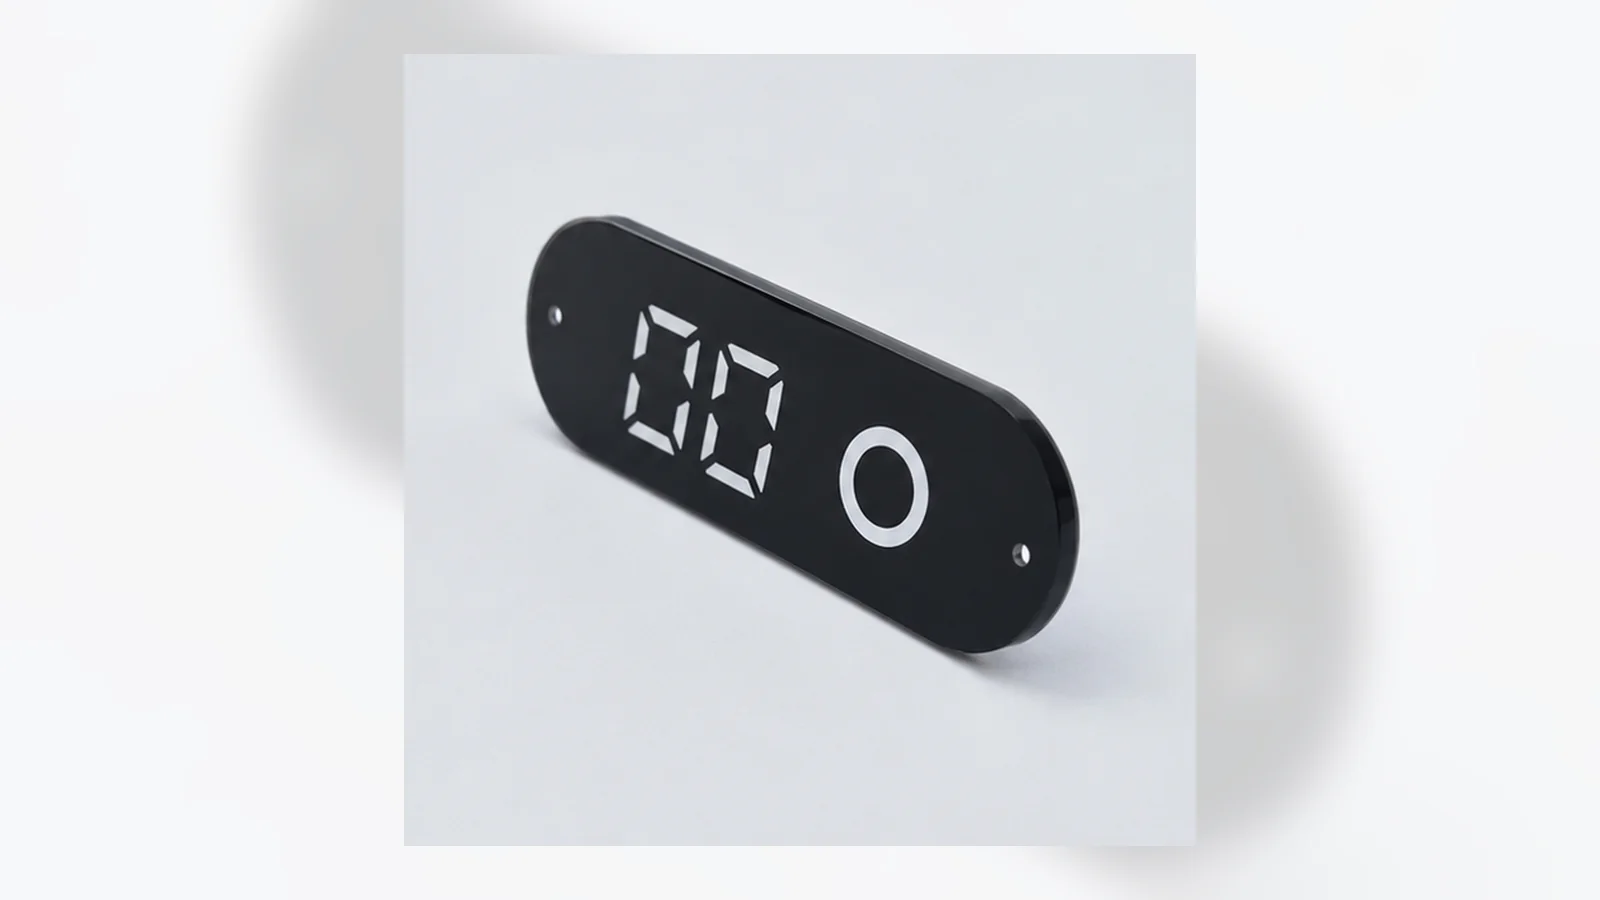
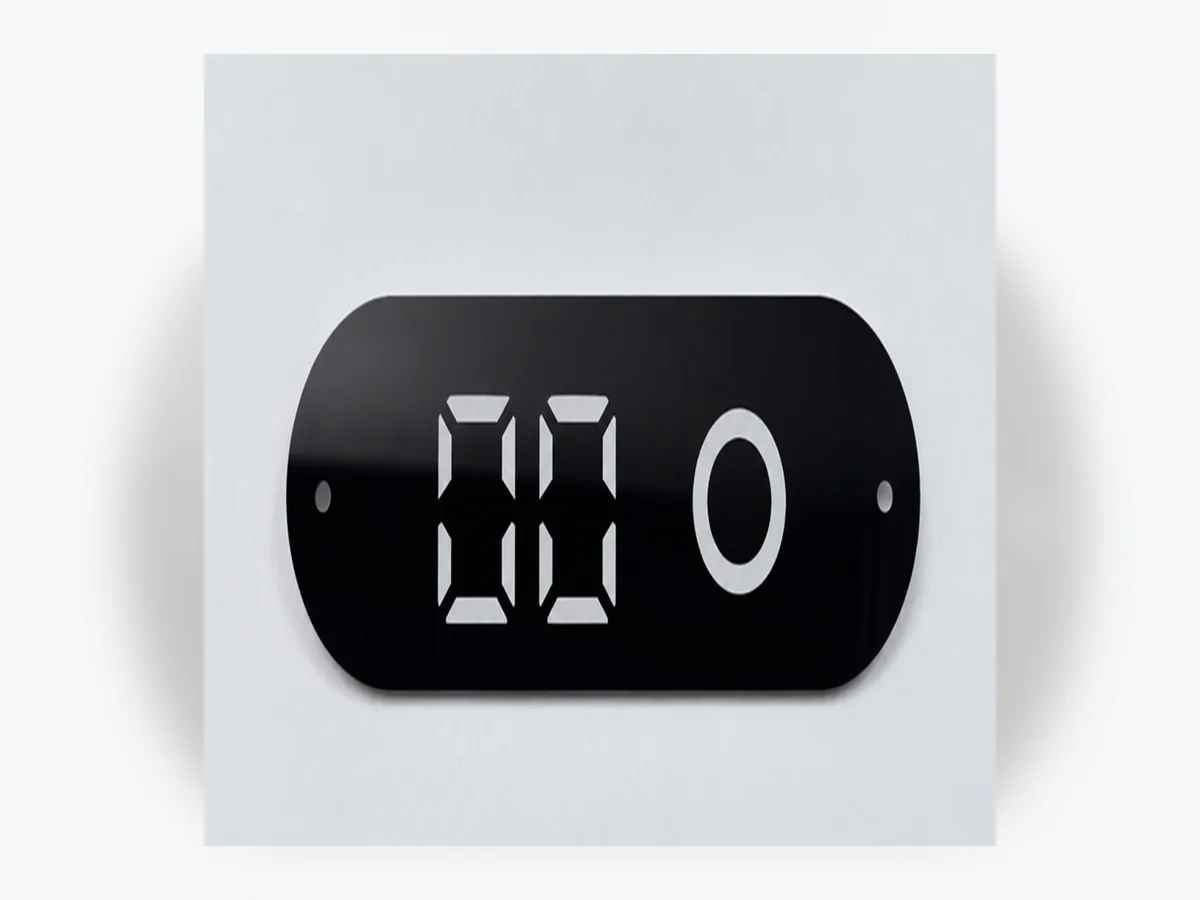
The acrylic 8-segment lens and PC display lens illustrate why optical and mechanical zones must be reviewed together.
Buyer FAQ
How much larger should the visible window be than the active display?
There is no universal allowance. It depends on viewing angle, display-to-panel gap, assembly tolerance, and the desired bezel appearance.
Can adhesive be applied around a narrow border?
Possibly, but border width, die-cut tolerance, substrate, handling, and seal expectations must be reviewed for the final design.
Should transparent windows be in the CAD file or artwork?
Show the controlled boundary and registration dimensions in the drawing, and identify the printable mask or transparency in the artwork.
How do we specify the panel front face?
Use an explicit front/rear note, cross-section, and artwork view direction. Avoid relying only on how a PDF happens to open.
Can a sensor operate through the panel?
That depends on the sensor technology, material, thickness, coating, ink, gap, and tuning. Test the actual assembly before approval.
What should be checked during adhesive sample approval?
Check position, edge lift, liner removal, contamination, initial tack, assembly fit, and performance under the buyer’s expected conditions.
Key takeaway
Before sampling, align the display active area, visible window, printed mask, cutouts, adhesive footprint, release liner, and assembly datum in one controlled review. Most fit problems occur at these interfaces. Confirm every open point against the final specification and approved sample.
Send the project details for review
Provide the display and housing drawings, active viewing area, panel dimensions, material, cutouts, adhesive map, application environment, quantity, packaging, destination, and target delivery window.
Submit the project information through our contact page. Specifications, MOQ, price, sample timing, and production timing will be confirmed for the final project.